
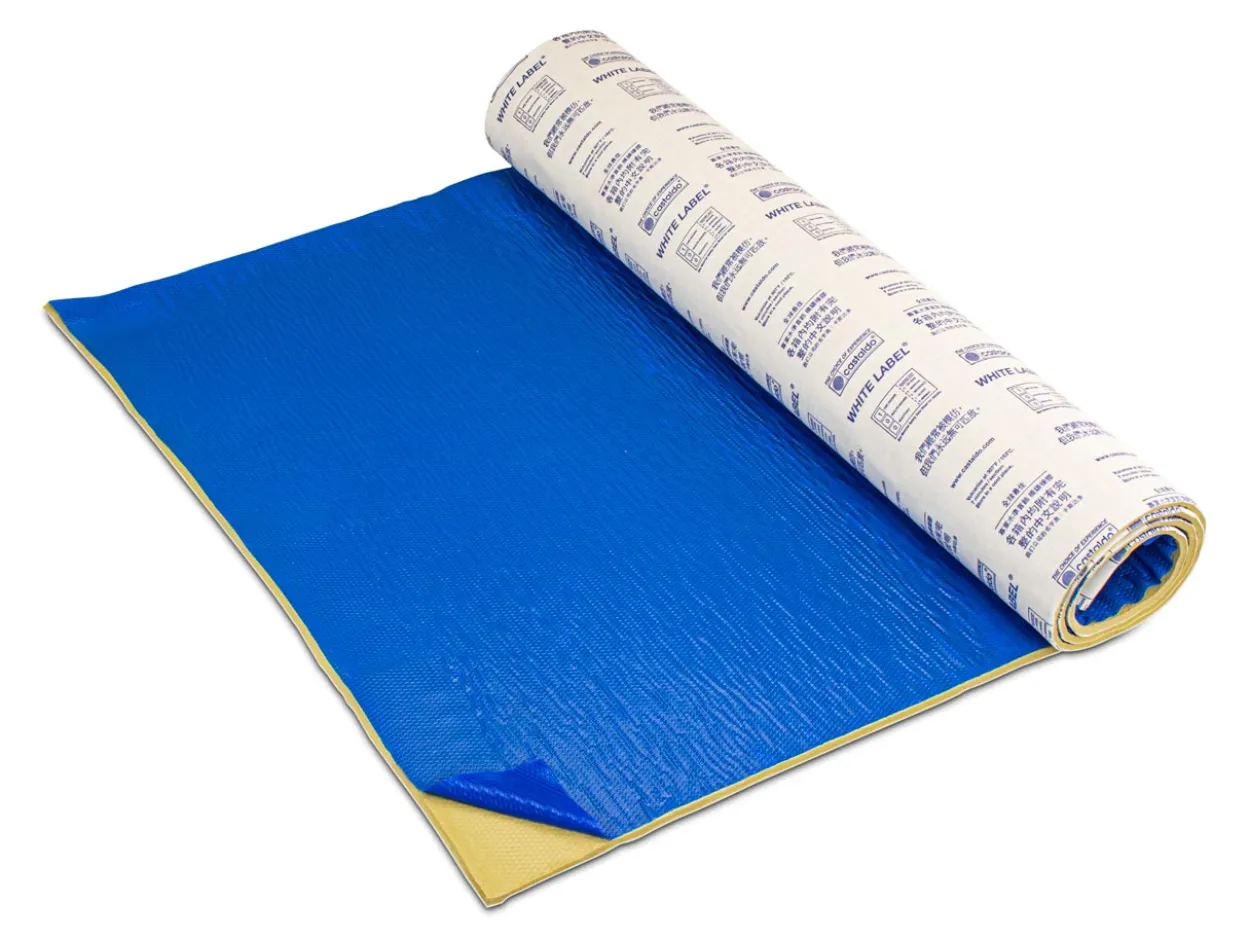
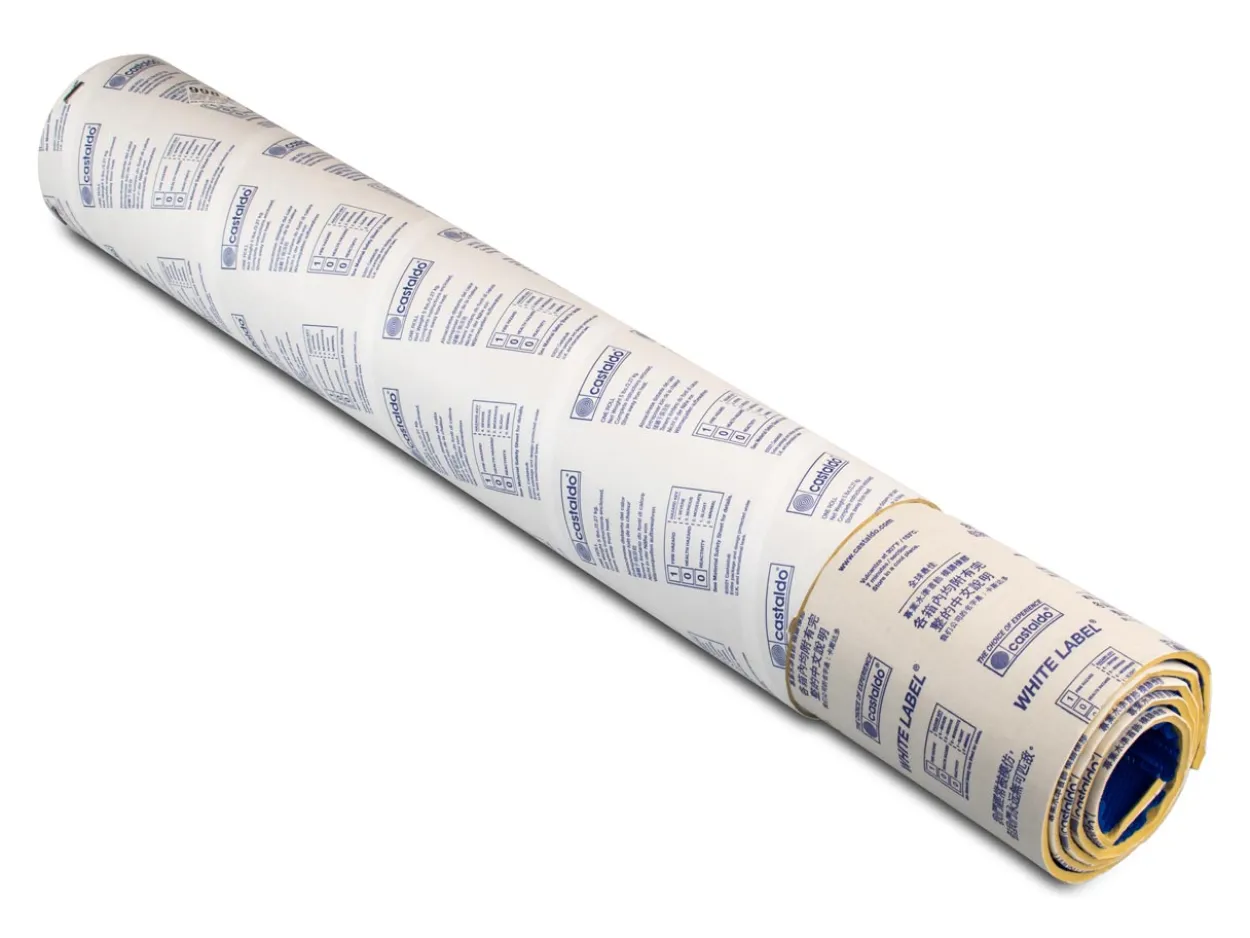

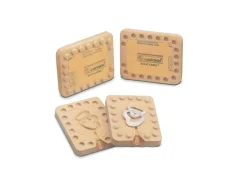
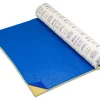
Castaldo White Label, Natural Moulding Rubber, Firm, 5lb Roll, Tan
£53.94
Description
Creating a mould for your jewellery item is a time-saving solution, in a fast paced industry with demand for quick turn around.
Castaldo White Label, Natural Moulding Rubber has a high concentration of pure natural gum rubber, which makes it soft and pliable to work with whilst making a strong firm rubber mould that can last for many years.
This rubber mould will retain its characteristic “memory” and flexibility long after other mould rubbers have worn away and become crumbly and stiff.
It is often used to create molds for rings, pendants, bracelets, and other fine jewelry pieces. The firm texture makes it suitable for capturing fine details and producing precise replicas.
The rubber is rolled and packaged in a tube that is easy to handle and keeps the rubber neat, clean and fresh.
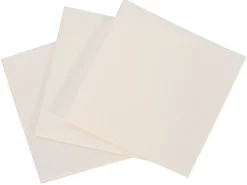
Lined with white cloth on one side and dusted lightly on the other side, the dust does not need to be cleaned off and does not act as a separator or interfere with proper lamination and vulcanization.
To use:
- Firstly cut strips to a size that will fit your metal mould frame
- The sticky backing cover should be kept on the bottom and top strip to protect them and ensure to stick the textured side to the smooth side for a firmer bond whilst packing
- Place 2-3 pieces of rubber, depending on the depth of your mould frame but you are aiming for halfway up the mould into the frame.
- Draw around your pattern, positioning it in the centre of the rubber but low enough down to touch the sprue former
- Cut out allowing for a place for your pattern to sit checking that any gaps in the centre of the pattern are also filled with rubber i.e. the finger size of a ring
- Add your sprue former and the silver model
- Add more pieces of rubber, 2-3 pieces depending on the depth of your mould, until rubber protrudes by approximately 2 pieces
- Add a line to mark where the centre is to aid when cutting later
- At this point you will need to set your vulcaniser to correct heat
- Use a marker to either name the design or draw a picture of what it is (the vulcaniser will make it permanent)
- It is recommended to clean the metal ends with washing up liquid on kitchen roll before putting the either side of your frame, this will help them not to stick (at this point remove your sticky backing paper)
- Place the mould into the pre heated vulcaniser and spin the handle until it stops a little and then turn it a tiny bit more; Unlike silicon moulds you will need to keep applying more pressure while it is in the vulcaniser
- Set the timer and stay with the vulcaniser tightening it every few minutes for the first 10 minutes, the required time depending on the thickness of the mould
- When you take from the vulcaniser ensure to wear heat resistant gloves and let your mould air cool or in cold water
- You may have some flashing around the mould, you can trim this with scissors
- You are now ready to begin cutting your mould! Ensure that your mould is secured before cutting with a sharp scalpel blade (please seek advice before attempting this)
Be the first to review “Castaldo White Label, Natural Moulding Rubber, Firm, 5lb Roll, Tan”
Related products

Cleaning & Care
Benches And Accessories
Barrel/Disc Polishers & Spare
Burrs


Collet Forming Tools
Cleaning & Care

Disc Cutters
Benches And Accessories
Cleaning & Care
Reviews
There are no reviews yet.