
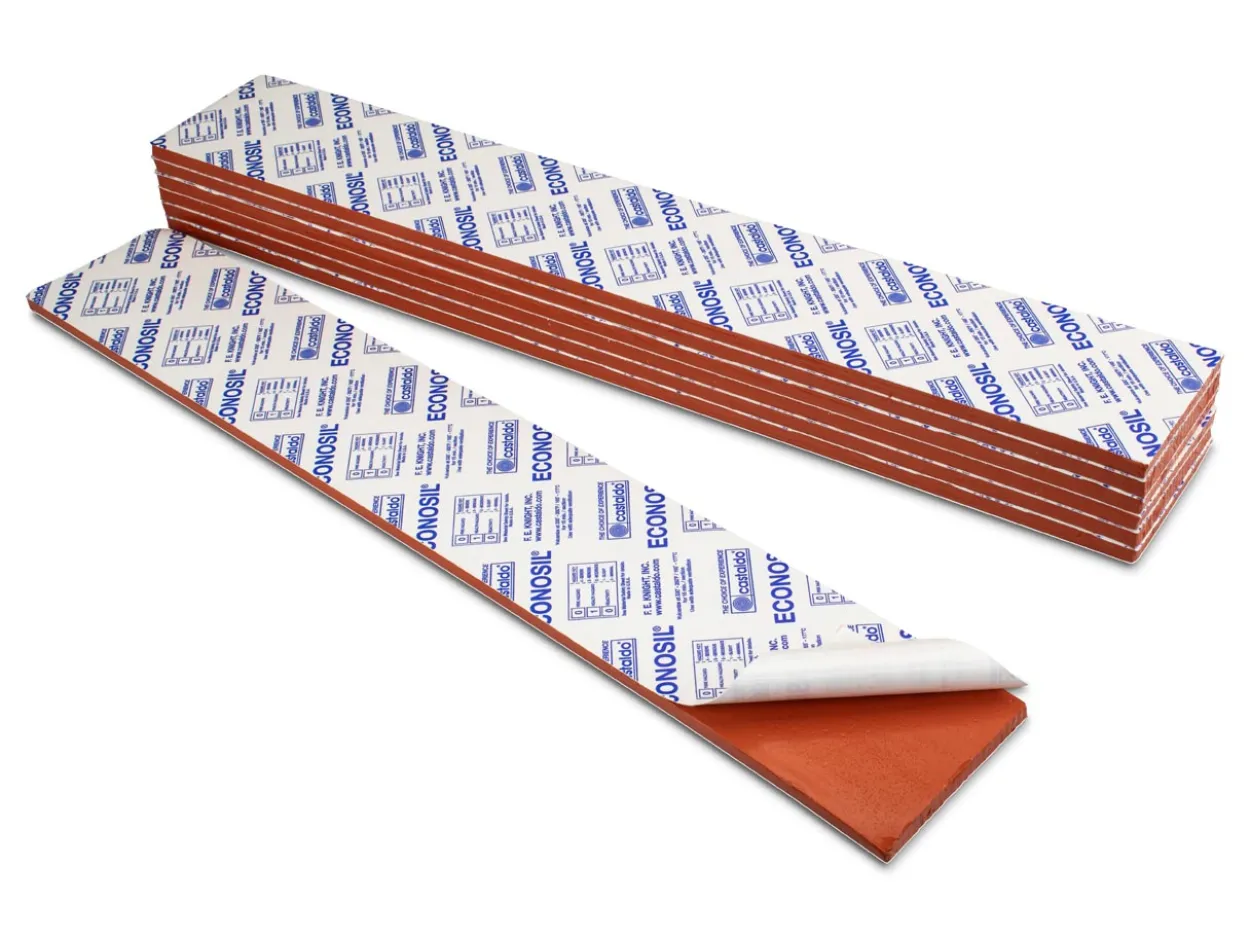
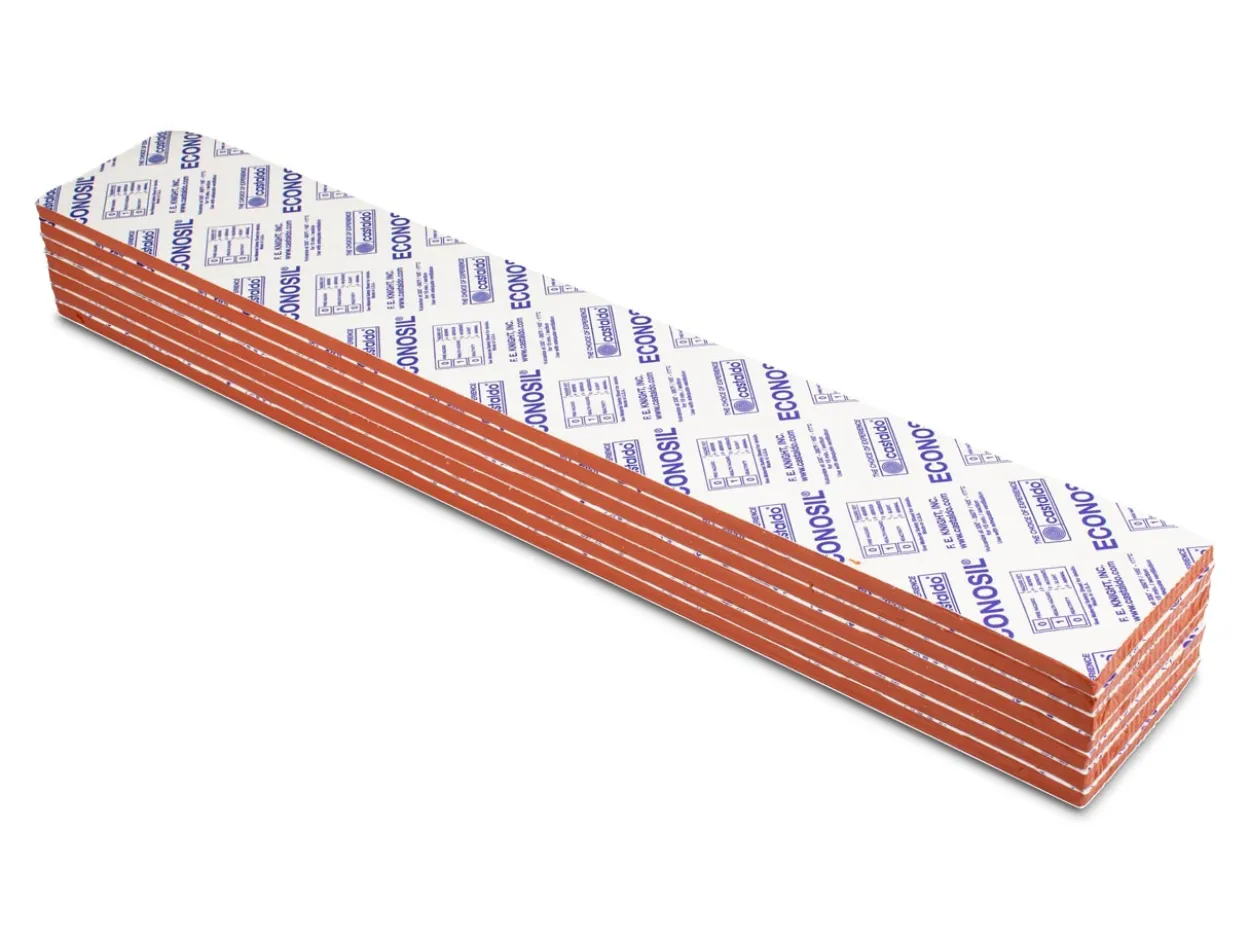
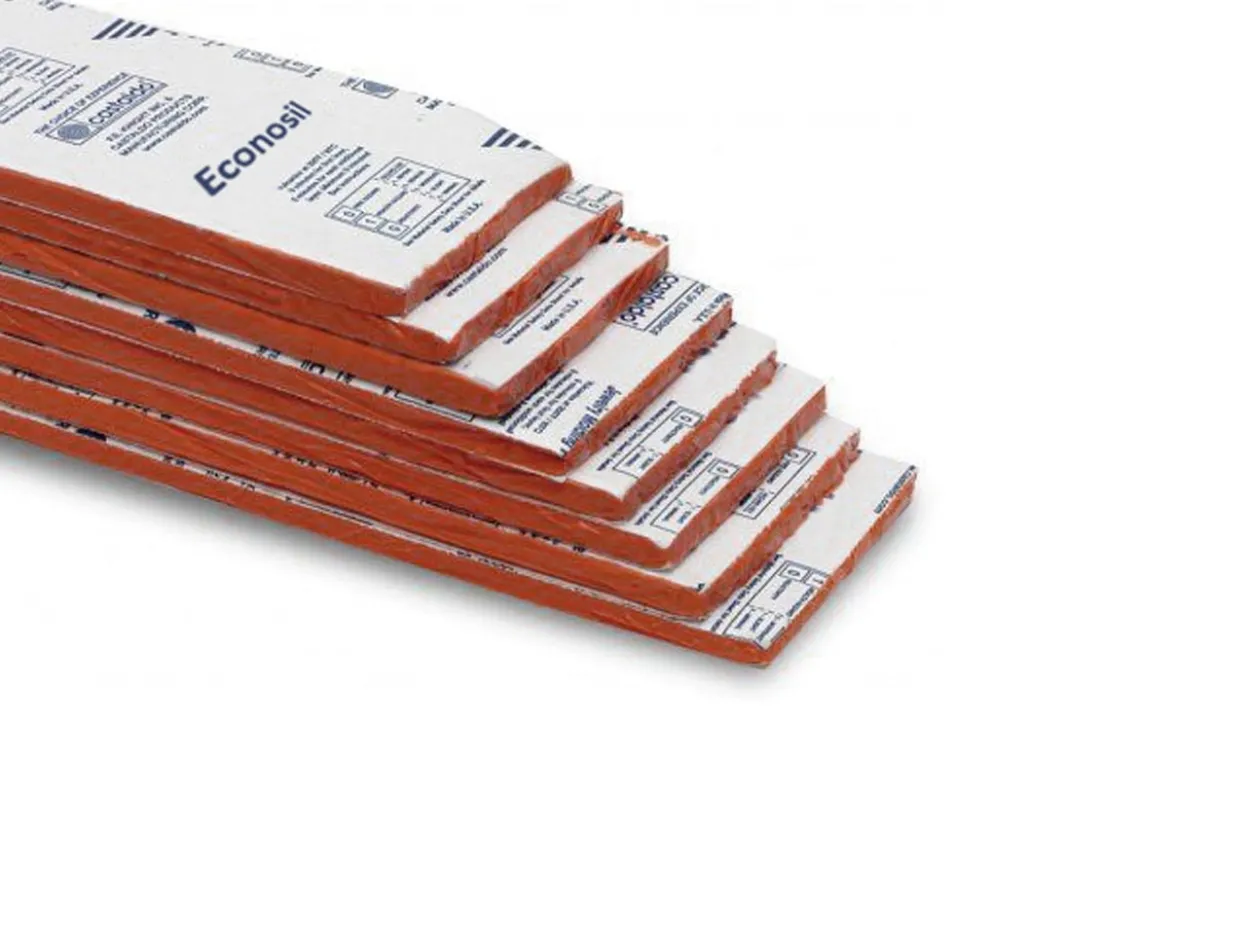
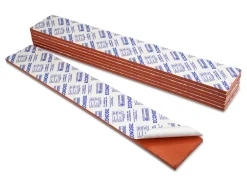
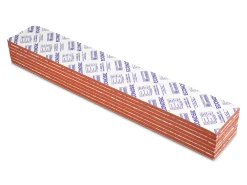
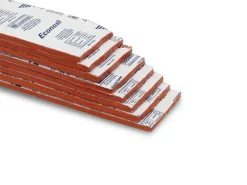
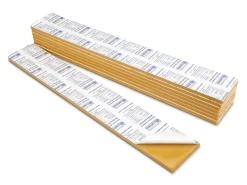
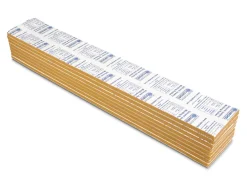
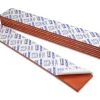
Castaldo Econosil, Silicon Moulding Rubber, High Precision, 5lb Cut Strips, Brick Red
£36.18
Description
Creating a mould for your jewellery item is a time-saving solution, in a fast paced industry with demand for quick turn around.
Silicon moulding rubber is used to make vulcanised moulds, these moulds are heated and put under pressure to create a mould that can be used repeatedly to produce further injection wax moulds for casting.
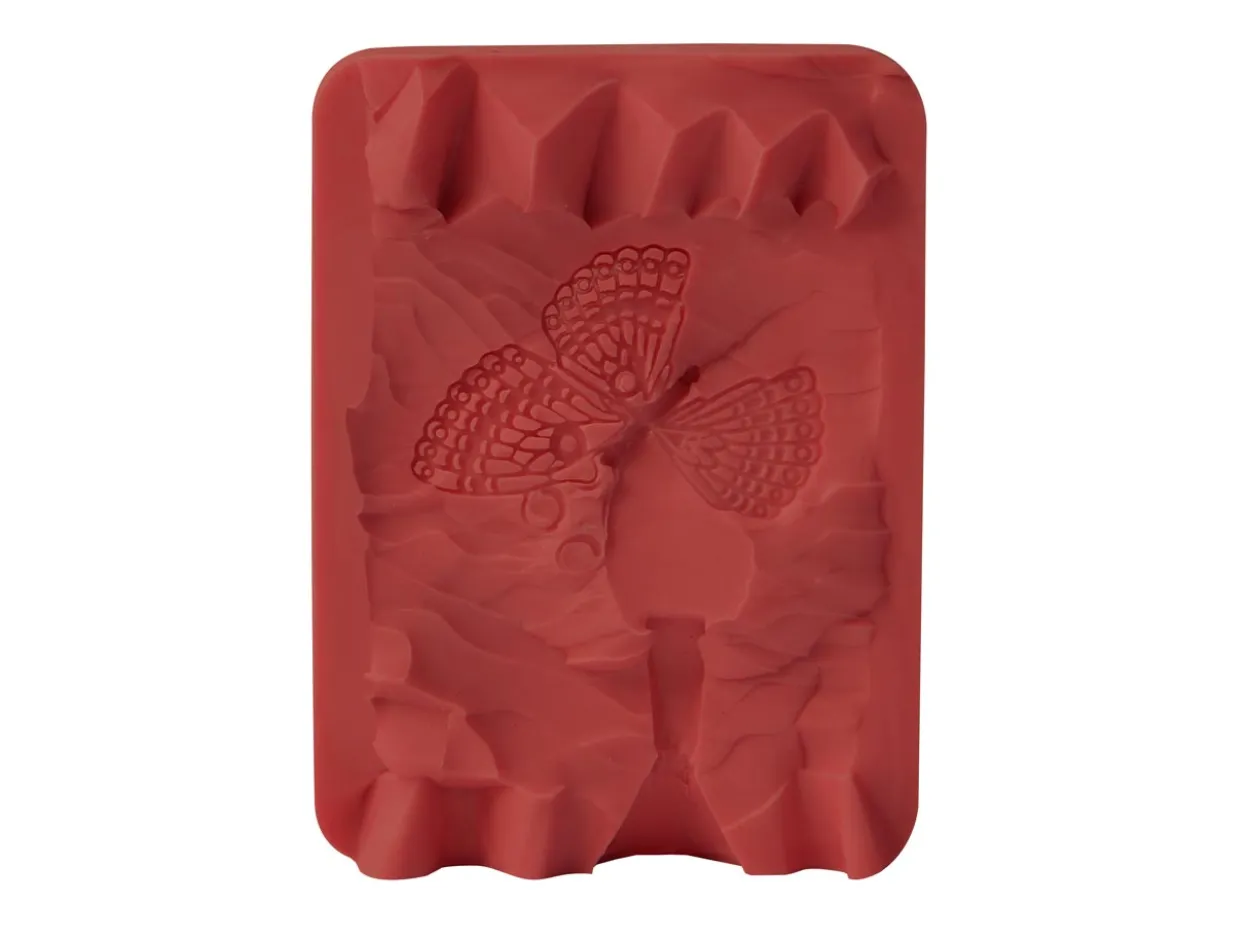
This Castaldo Econosil Silicon Moulding Rubber in brick red is a firm but flexible version of the Castaldo super high strength silicon rubber meaning it provides less variation in final cast weights, greater detail and less distortion.
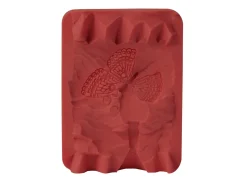
Moulds compress less during injection and thus avoid squeezing off wax flow through thin channels. It’s ideal for filigree and other fine details.
This strong, tough putty like silicon rubber has a shrinkage rate of 1.1% and vulcanises at a heat of 165-177°C / 329 -350°F producing highly detailed wax injections with an extraordinarily shiny surface that requires less finishing.
Easy to work with this rubber allows waxes to self release without need for release spray or messy powder. Moulds are easy to pack and cut smoothly.
To use:
- Cut strips to a size that will fit your metal mould frame leaving the sticky backing cover on the bottom strip to protect it whilst packing
- Place 2 pieces (or aim for halfway up the mould) into the frame pressing it into the corners and paying attention not to trap air
- Add your sprue former and silver model, being careful to place it in the centre of the frame; If it is not halfway in depth you can push it into the rubber
- Add more pieces depending on the depth of your mould until rubber is level with the top of mould frame
- If it protrudes higher, use a wallpaper scraper or flat tool to scrape off so that the rubber is level
- Set your vulcaniser to the correct heat
- Use a marker to either name the design or draw a picture of what it is, the vulcaniser making it permanent
- We recommend cleaning the metal ends with washing up liquid on kitchen roll before putting the either side of your frame, this will help them not to stick (at this point remove your sticky backing paper)
- Place the mould into the pre heated vulcaniser and spin the handle until it stops a little and then turn it a tiny bit more; Unlike rubber mould you will not need to keep applying more pressure as silicon mould creates its own pressure when heated
- Set the timer and leave the vulcaniser to work
- When you take from the vulcaniser you may have flashing around the mould, you can trim this with scissors
- You are now ready to begin cutting your mould! Ensure that your mould is secured before cutting with a sharp scalpel blade (please seek advice before attempting this)
The amount of moulds that can be made per pack will depend on the depth of frame you use.
Be the first to review “Castaldo Econosil, Silicon Moulding Rubber, High Precision, 5lb Cut Strips, Brick Red”
Related products

Barrel/Disc Polishers & Spare
Casting Equipment
Benches And Accessories
Burrs


Collet Forming Tools
Cleaning & Care
Casting Equipment
Castaldo Super Strength, Silicon Moulding Rubber, Extreme Tensile Strength, 5lb Cut Strips, Tan
Disc Cutters
Reviews
There are no reviews yet.